We all know that the key to the most natural looking hair extensions, apart from the all-important colour match, is the cut and finish. If your struggling with getting that blend right, or getting the extension hair to lay naturally then these 5 tips may just help:
Step 1
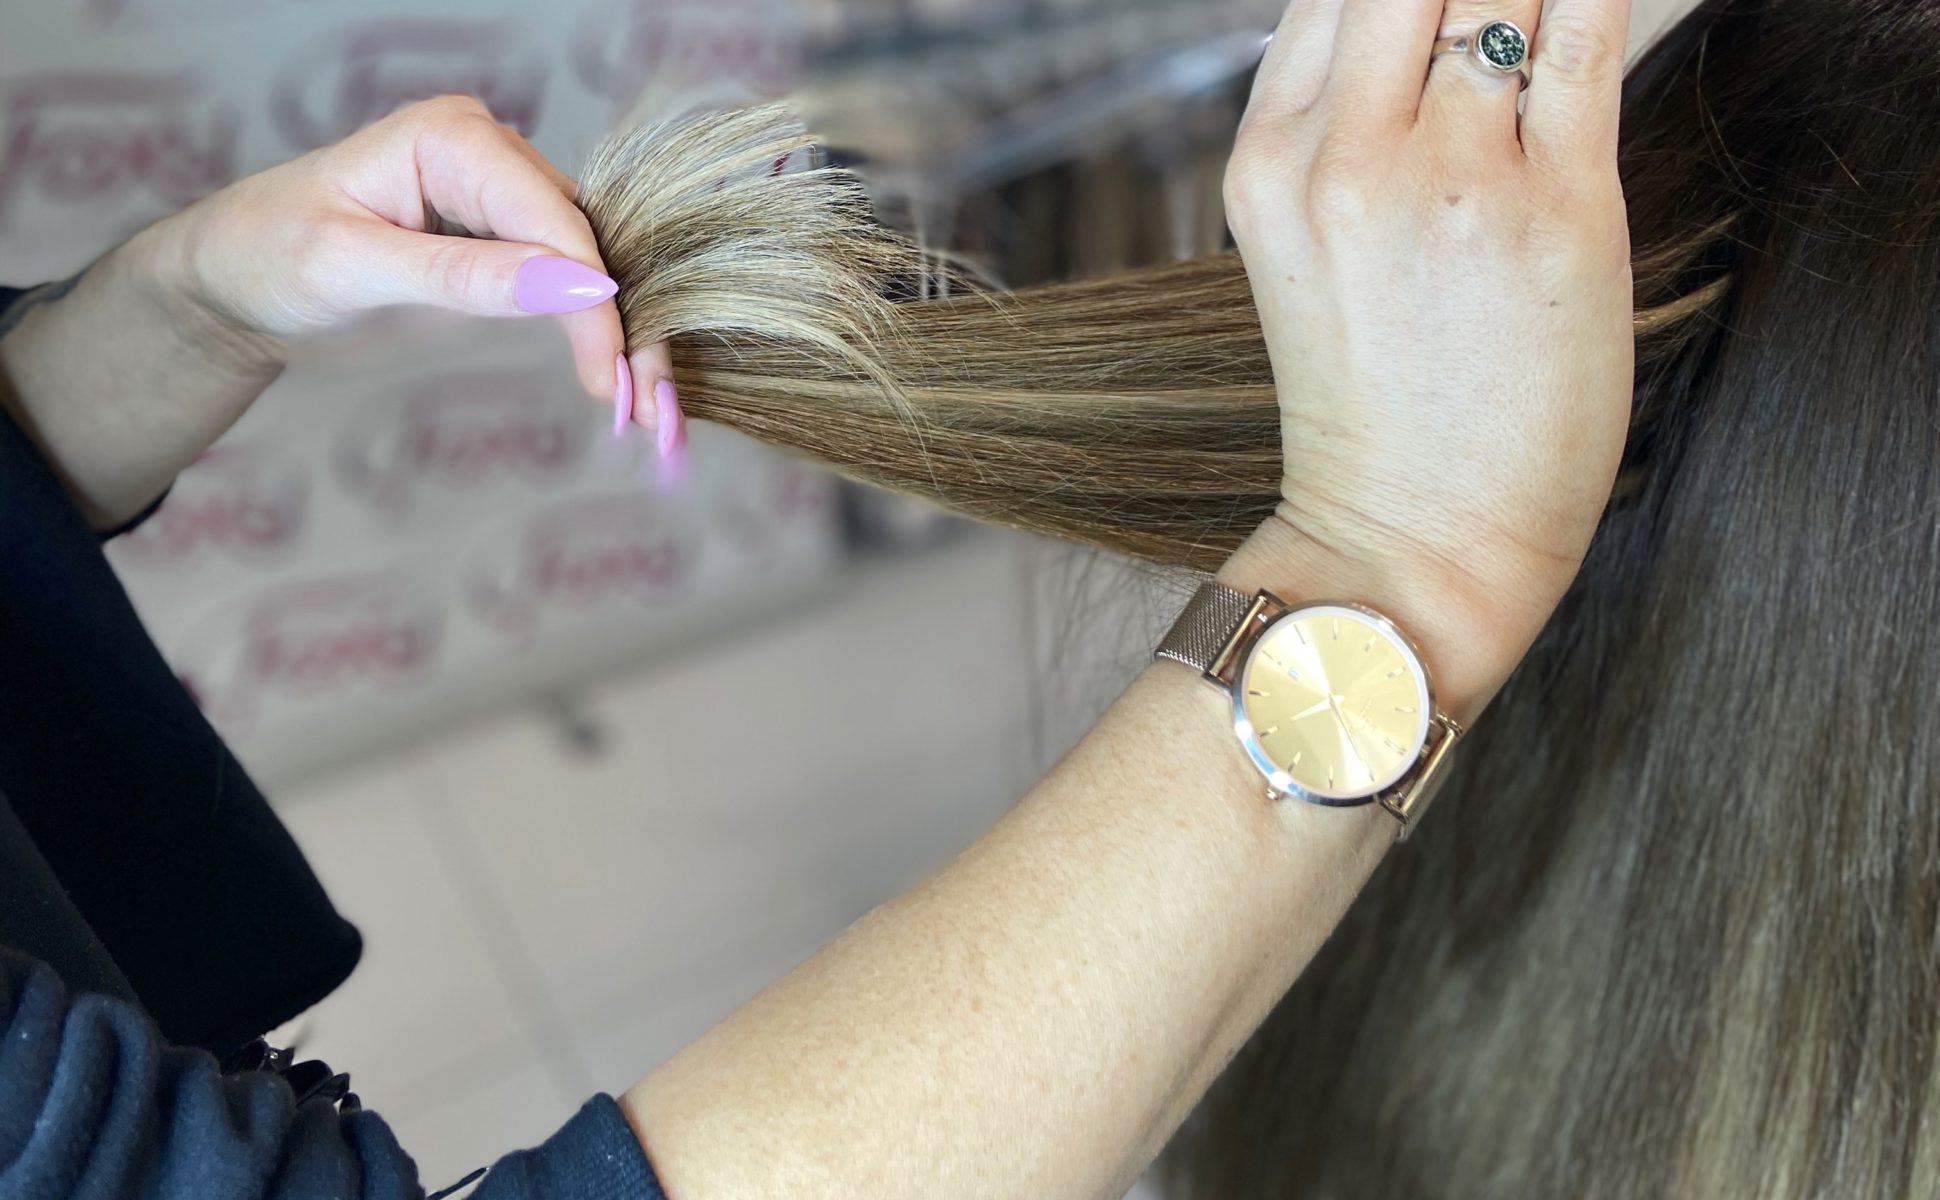
Take away the weight from the natural hair (not always needed).
If your clients hair is a blunt cut then you’ll have trouble hiding the seam from the natural hair into the extension hair. To avoid the ‘ledge’ you need to prep the hair before the application process begins. Removing the weight, therefore the lines in the hair cut, is key. You can do this be using your thinning scissors on the final 1-2 inches of the natural hair. Make sure you talk to your client about what you are doing first as they may panic when they see you go at their hair with your scissors. Reassure them that it is all part of the extension process and will produce a better end result. Once the extensions are due to be removed after a period of time, their natural hair will be due a good trim so these finer ends (that may not even be visible) will be trimmed off.
Step 2
Cutting the length
The number 1 rule here is to always dry cut extension hair. Extension hair will quickly blunt cutting scissors, so our advice is to use a cheaper pair of scissors and replace them regularly.
We always suggest cutting all of the extension hair in one go, as opposed to smaller horizontal sections as you would a standard wet cut. Section off the back and split into 3 vertically. Cutting your middle section first and then bring in in the left and right side. Bring in the side sections and cut a one length cut. When cutting we advise to point cut to create softer lines.
Step 3
Shaping the front
Most clients will request the front to be shaped also. Doing this ensures the extensions fall round the face naturally and blends the front of the natural hair into the extension hair. Use either your scissors to slither cut or a razor, either is fine and its more of a personal preference. Find where the clients natural hair finishes around the face and start just below that point. You can go as subtitle or as drastic as the clients desires.
Step 4
Creating the layers
Again, a personal choice by the client but we like the addition of soft layers throughout the back section. It helps the whole style to look more natural with movement and shape and stops from creating a huge blanket of hair which can become unmanageable. Also, at times with double drawn hair, because it’s so thick from root to tip, steps can appear in the extensions. Creating layers will remove these steps.
Step 5
Creating natural ends
Even after we have point cut the ends of the extensions hair, sometimes we still feel its sitting a little too blunt and unnatural. To soften the ends further, you can go over the final 1-2 inches with your thinning scissors, as you may have done with the natural hair to soften these lines.